As mentioned in a previous post, my layout planning article for the Holyhead Breakwater Railway also got picked up by the Hornby Collector's Club. This needed an expanded article, so I also took the opportunity to do a new set of pics.
THE BREAKWATER
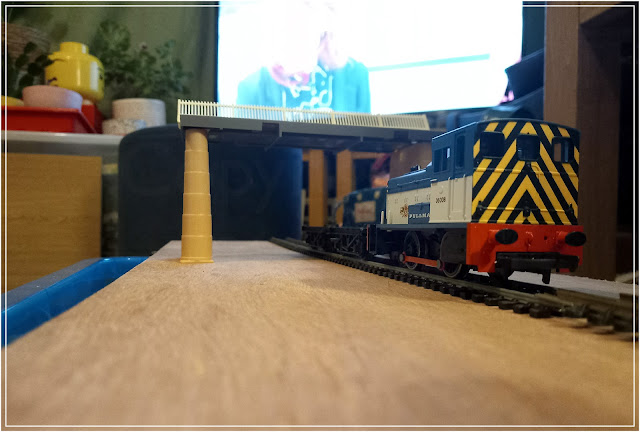
Having rebuilt the breakwater set into a miniature railway build instead, it needed converting back to 00 scale, and one of the requirements was for a new lighthouse. This time, to make it nearer to the real one on the breakwater, I chose to use a block of wood (instead of a parmesan tub).
The block was lightly weathered with chipped paint, but the original clear plastic tub light was retained to save time, as it would only ever be in the background of shots.
The set restored. Luckily the track had only been buried under the new miniature railway tracks, so could be re-exposed for the shoot.
Back up to the location used for the original pics.
The weather was rather nice on the day, with muted sunshine.
Trying to find a suitable angle was a bit tricky...
...plus every time we set up, the world and his dog came past, needing the set (and the car) to be moved.
Still, the results paid off.
THE OTHER SIDE
I still needed to do more photographs, so thought I'd do the other, non-breakwater side of the layout, or at least a portion of it.
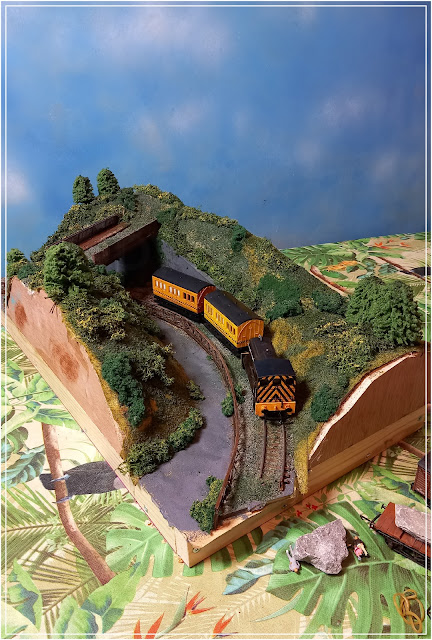
The key feature I wanted to include was one of the bridges (to act as a scenic break), but I'd be having to do the track curved -rather than prototypically straight- for the model.
The original plan was to have a portion of the engine shed, but I was tight for space (and time) as usual.
Plan B, I'd focus just on the curve in the cutting.
To save time, I thought I'd re-use an existing board.
More raiding the spares box.
The trackbed was a piece of foam board, with sandpaper for the road (though it was somewhat affected by the damp, from being stored in the shed).
More scrap, the spare grass mats from the £100 project.
As a base layer, it didn't do too badly, but it was going to need more work.
Extra greenery was added, various scatters and bushes.
Yellow paint was flicked over some of the lichen to look like heather.
The Stock
The original diesel shunter had, by this point, been upcycled for the miniature railway build...
...but a bargain from eBay provided a replacement.
Masking off the end chevrons, it was an easy enough respray.
The real thing (a class 01, visually similar to this 06) was kept in quite decent, if weathered, condition, so I just did a bit of light weathering, dry-brushing shades of brown.
I needed to have another go at doing the flatbed wagons for the stones. Two more chassis were dug out the scrapbox, and some coffee stirrers were used to make the decking.
Deliberately rough and ready.
Lightly painted with reds and browns, they looked the part. Probably needed some ropes to hold the stones, but it wasn't clear if that was what was used on the prototypes in the few pics I had to hand.
I wanted some other, suitably colourful stock, but some washes with Citadel 'Nuln Oil' toned things down a bit.
This is the effect I was after anyway, light weathering to bring out the details.
The Shoot.
Typically, timing-wise the weather was too poor to shoot outside, so it was time to use the trusty backdrops and the borrowed studio light, as usual.
I dug out one of the locomotives from the £100 project for a bit of variety.
...as well as some of the wagons.
I really enjoyed this project; a tight turn-around time for the second diorama, but it's given me a really nice set for doing pictures on for other projects.
Publication.
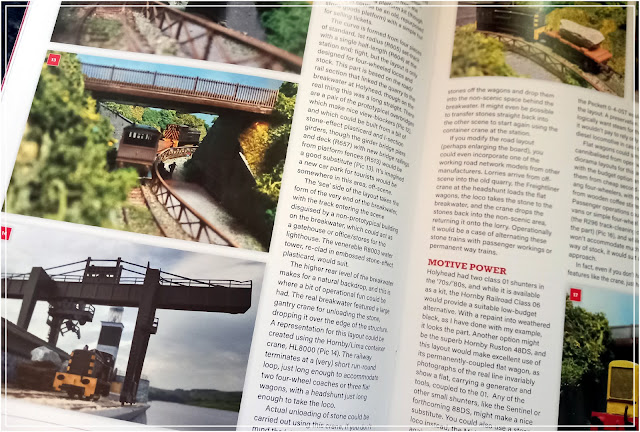
The project, and the re-written and expanded article, got a good feature in the mag.
Another nice, long article published, and the set can be used elsewhere. At least, the cutting set...
...once again, the breakwater proved too useful for the larger scales, though more on this project (another for the Hornby Collector's Club) in a future post.


No comments:
Post a Comment