Blimey. So yeah, a whole year without posting. Plenty of model-making has been done, I've had work published throughout the year, but I've just not blogged about it. So here we go, time to play catch-up...
***
Back in the dark days of lockdown, I decided to do a "Dr.Who" themed shoot; being lockdown it had to be improvised as the shops were shut, hence the Standard Sci-Fi Corridor was our laundry basket.
Come 2023 and the 60th Anniversary of the show, I had all sorts of plans. I bought a Tardis kit, I thought I'd do a location shoot... then my nominally 7.5 hours a day job got super-busy, and between that and some mag work, I realised I had no time for a new project. But there would be time to do the corridor shoot the way I'd originally wanted...
Rebuilding the Set
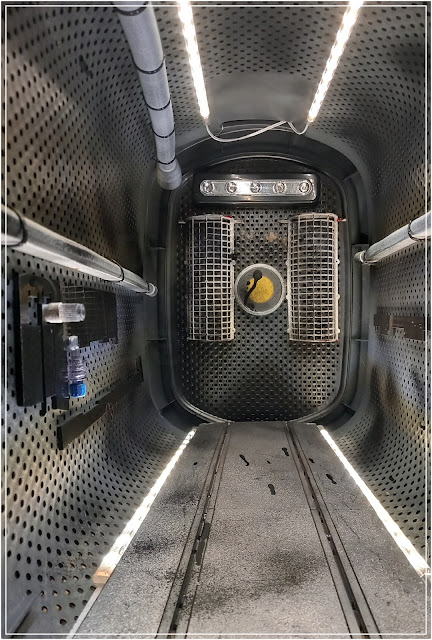
So as mentioned above, the corridor was our laundry basket, and being as it needed to stay usable for laundry, I couldn't paint or weather it, and all the set-dressing just had to be cable-tied or blue-tacked in place.
No restrictions on shopping this year, so I nipped out to a bargain shop for a laundry basket. It was a slightly different shape, but actually this seemed to suit the shape of the Dalek miniatures better.
I planned to re-use much of the surviving accessories, like the Scalextric-track floor...
...and wooden door. Though after detailing with some bits and pieces from the scrap box, I realised it was just too small, so pinged it off and started again.
Other details were some medical cannula ports (unused I stress to add) that were heading bin-wards at work, yoghurt pot lids, a dismantled bird feeder, and tubing from a dead washing machine, mounted on L-section plasticard. I wafted the whole lot with greys, blacks, and silver rattlecans, to make it look a bit more weathered. The lights were the same LED strip-lights I used last time.
Rebuilding the Dalek
One problem I have with the Dalek is the flexible plastic used for the gun; when the Model Unit did the miniature effects for Dr.Who, they rebuilt these wholesale. I didn't have the time to machine something up, so went for an easier option, which would also allow me to try a special-effect shot I was after...
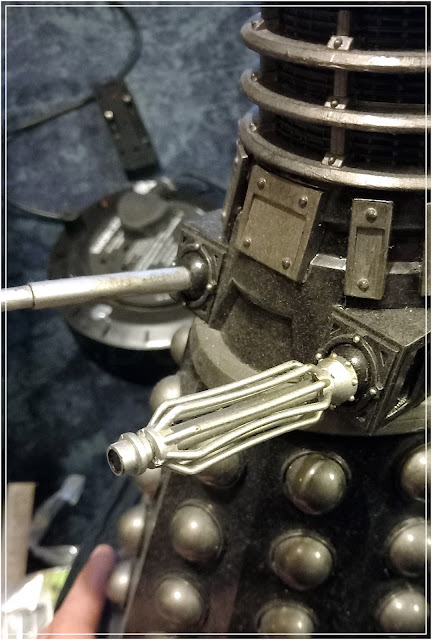
The new gun would be a keychain torch with a AAA battery inside, and to mount it to the body (whilst keeping it removable to change said battery), it was fitted inside a syringe from work (again, unused).
I had two of these torches, and dismantled one in order to make the firing effect.
A bit of dry-brushing with metallic acrylics.
The beam from the gun is a transparent blue plastic drinking straw, attached to the lens with copious amounts of superglue.
Let's all say it together, everyone... EX-TER-MIN-AAAAAATE!
The Skeleton
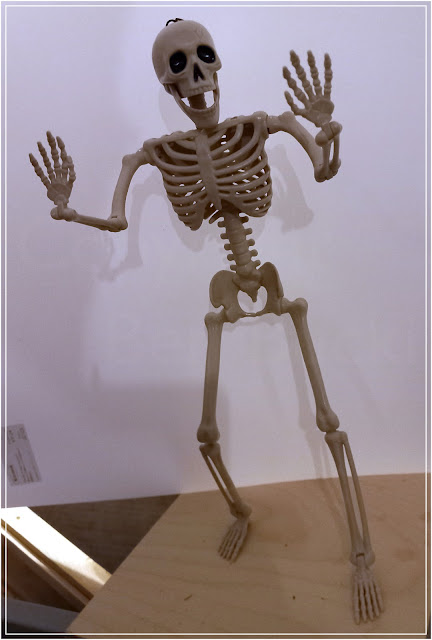
Of course, it needed a poor victim to get zapped, and happily lots of places online were selling-off their Halloween tat on the cheap, and I picked up a pair of folding, poseable skeletons.
I had a loose plan for the effect, which was a frosted plastic outline of a body over the top of the skeleton.
It was a nice effect, but forming the plastic shape over the skeleton and holding it in place was tricky; the material of the skeleton meant finding a glue that adhered to it was even trickier.
Inspiration hit whilst at work the next day; clingfilm.
Testing it with a bit of back-lighting.
In-situ on the set, where I realised a bit of underlighting might be needed too.
The original plan was to have the figure at the far end of the set, but there wasn't room to get a decent angle in with the Dalek too.
It worked better the other way around. I think this was my favourite shot of the whole set.
The Shoot
The undeniable glamour of the pics... I had to improvise a frame so the laundry bin would stay upright. Also, new humidifiers, as the old ones had packed in.
Lighting was with a variety of bike lamps; the internal LED strips were selectively disconnected, so as to not make the set too bright.
I shot most of the pics with my mirrorless Nikon, but had a bit of a play with the phone, including the filters and lenses.
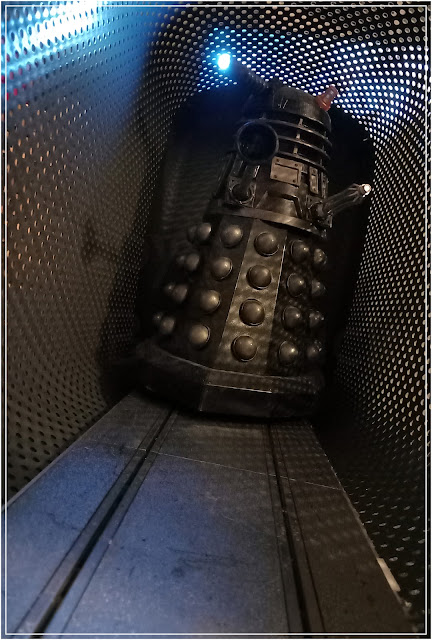
The modified Dalek, with it's gloss varnish coating to give reflections, looked the business under the lights.
My beloved original R/C Dalek makes another appearance, though with the bendy plastic gun which is the only bit which really lets this down.
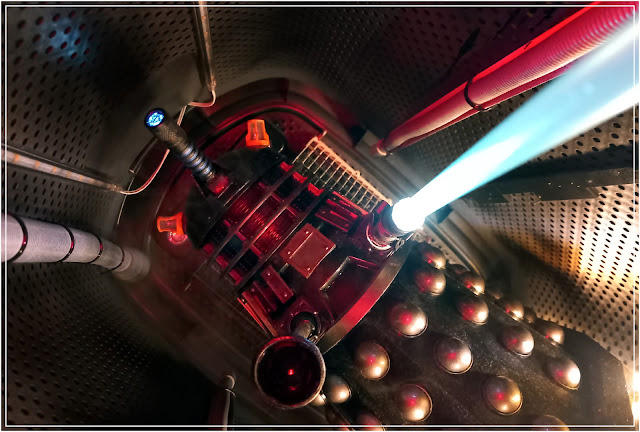
I ended up taking some incorporating the light into the pictures; I thought it gave the impression of the point of view of some poor bugger hiding among all the pipework, conduits, and general industrial tat which seems to exist in a Standard Sci-Fi Corridor.
A bit of 'red alert' lighting; I like the idea of this being a boarding action on a spaceship somewhere, like the assaults done (cheaply with stacking crates) in "Resurrection of the Daleks" or brilliantly in "Into the Dalek".
And so, there we go.
As I said, I have been making quite a lot this year... not as much as I'd have liked (I have a load of part-built models stashed in cupboards or the shed, gradually being smashed to bits as tidying goes on and they get more and more buried), but then that's the price of having a day-job with the NHS. Doing the Dalek project has re-invigorated my enthusiasm though, and I'm determined to not fall behind again in 2024 and end up leaving it another year. So, overtime and problems permitting, there should be another post on a new project on Christmas day.









No comments:
Post a Comment